
“Rollin’ rollin’ rollin’, keep those yeasties rollin’… don’t try to understand em…” etc.

Yeast slants
Storing yeast on slants is a handy way to keep a ‘bank’ of liquid yeast strains in your fridge that will keep for months and months. The basic idea is this- you make a jelly from malt extract and something to make it set, either agar or gelatine, you put some in a vial, sterilise the whole thing with steam, let it set almost horizontally so you get a larger area, and finally swab it with a source of yeast, like a vial of liquid yeast or a previous slant. Within a few days the yeast will grow on top of the jelly, and you can stick the whole thing in the fridge. To revive it, simply mix some weak wort like you would for a normal starter, put some in the vial, shake it to dislodge the yeast (or scrape it with a sanitised implement if necessary), and add it to the half pint of wort you’ve made, and build from there.

Malt extract from the health food store, and agar agar from the Asia Market
There are other more technical posts on yeast ranching, but here’s how I do it. I add 10g of agar agar to 250ml of wort. Agar agar is available in shops that sell a lot of Asian ingredients. I got mine in the Asia Market on Drury St. in Dublin. Beware- when I went in first the only stuff I could see was in the Japanese aisle, and it came in either red, or green- it was clearly dyed in order to make some hideous dessert. The slants I made with it didn’t work, green dye ran everywhere. In one of the Chinese aisles though, I found the clear, uncoloured stuff. It’s made from red algae, and it looks like scrunched up cellophane.

Dissolving agar in the wort
You have to heat the wort and add the agar gradually, until it has all dissolved. This took a while, maybe 10 or 15 minutes. Unlike with gelatine, it doesn’t really matter if it hits the boil now and then. It was hard to find good information on ratios, but 10g/250ml made quite a well set jelly, you could probably get away with less.
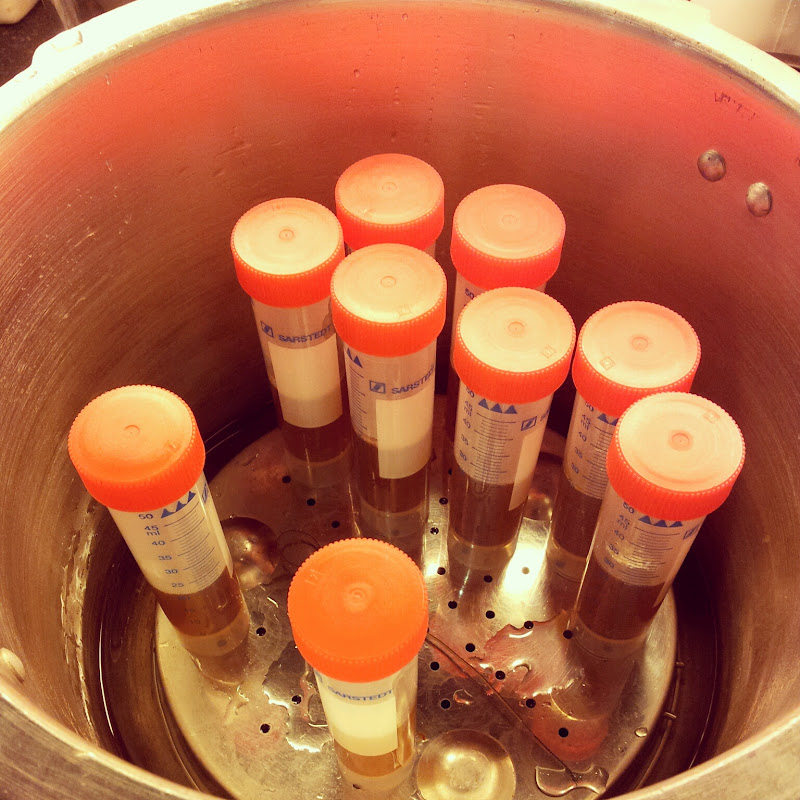
When it had all dissolved, I added it to 10 or so vials. I used vials I got from a fellow homebrewer, Shane, who got them from some scientific supply place. They are handy because they are large, but also have a flat bottom, and they’re made from a resin that can withstand high temperatures. This means I can stand them in my pressure cooker. Real scientists

Fill them to between 1/4 and 1/2 full
use a thing called an autoclave to sterilise with steam, but it’s essentially a big pressure cooker with more bells and whistles on. Steam sterilises, and the higher pressure the steam is at, the faster it does it. I popped everything in the pressure cooker for about 15-20 minutes, with the lids lightly on the vials.
When that was done, I screwed the caps on, and I laid the vials on their side, so that the jelly came almost to the lid. This means we have a surface area that is a diagonal cross section of the tube, that is, quite a nice little area for the yeast to grow. Popping everything in the fridge at this stage speeds up the setting.
When it’s all set, it’s time to inoculate the slants with yeast. If you can find an
Sterilisation by steam
inoculation loop in a scientific store or on ebay that’s great, I made one by twisting a guitar wire so it had a loop about 2mm wide on the end. I had sterilised this loop in with all the rest of the gear in the pressure cooker. The loop picks up the yeast on the end. It’s not necessary to have it dripping with the liquid yeast, a small amount of cells will grow up to be colonies of millions.

Old slant containing yeast growth on the right, fresh slant on the left
For the next stage it’s crucial that everything is super clean, because this is when the sterile slants get open, and there is the risk of exposure to something other than yeast. Make sure hands are sanitised, and surfaces, and if possible work beside a flame, as this means the air above where you’re working is less likely to have any nasties in it. I do this step in my kitchen beside the gas cooker with one ring on.
Each time you dip the loop in the original yeast, you need to sterilise it. You can do this by holding it in the flame for a few seconds. I cool it then by dipping it in a glass of starsan. Some people recommend touching the hot loop off the inside of the vial to make sure it’s not still hot as this will kill your yeast. Dip the vial in the yeast, and then quickly remove the slant’s cap, swab it from the end to the entrance in a zigzag motion, and replace the cap. Sanitise your loop, and repeat with all your other slants. That’s it, you just leave them out somewhere and in a few days you’ll notice a nice creamy coloured growth where you swabbed, that’s the yeast. A week later you can pop them in the fridge for storage. By this time, if any are bad, you’ll notice. It has happened once or twice that I got some blue mould growing in my slant, so it’s always a good idea to do more than you need in case this happens.
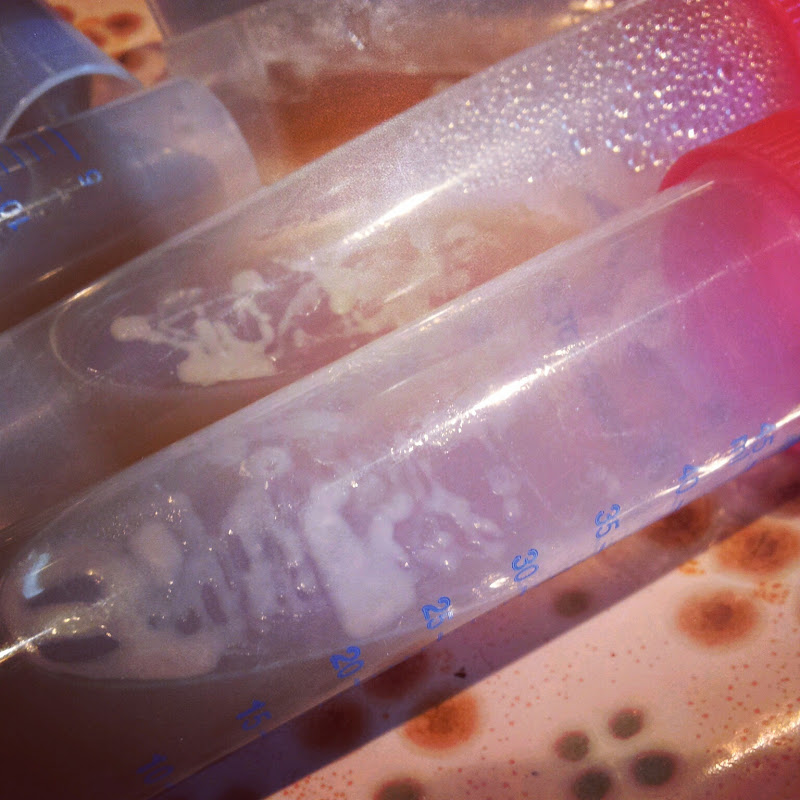
After 5 days or so, healthy white yeast growth is visible!
You can then grow up a fresh, 1st generation yeast whenever you need it, and if you fear that your slants have been in the fridge a little too long, you can always use an old slant to inoculate a new slant, as I did in this case. Instead of dipping your loop in the liquid, you just scrape it on some of the yeast in the old slant.
Tip: When you buy a liquid yeast vial from Whitelabs or whoever, leave a few ml of liquid in the vial when you pitch to your beer, and pop it back in the fridge. This will be enough to make slants with at a later date.
Other resources:
I cannot recommend Yeast by Chris White (of Whitelabs) and Jamil Zainasheff highly enough. Get it if you’re interested in yeast and how to handle it properly.
There are lots of other online guides to making slants such as
